 Have you ever opened a package of seeds and been surprised by how tiny the seeds are? I am always amazed at how that seed can produce a bountiful harvest of tomatoes or grow into a forty-foot oak tree. Every seed is unique and full of life! It just needs a few things in its environment to make it grow: sun, water, soil, nutrients, and air.
In Nourishing the Plant in the 21st Century curriculum, Lesson 1: Plants All Around You, students begin a gardening project to gain experience with plant growth and to deepen their understanding of how plants and their environment interact. To compliment this lesson show there is virtual classroom video that introduces the students to the vast diversity in seeds size, shape and color.
The curriculum lesson has the students planting a variety of seeds in cups, observing and documenting their germination and growth. If you have a garden, you can also complete the lesson entirely in the garden.

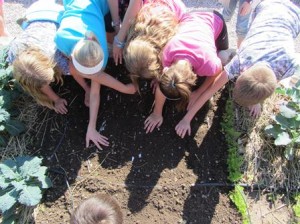
From experience, I know that it can be difficult for little fingers to plant little seeds. In our school garden, we sow the seeds directly in the soil but we also create seed tapes to aid in our planting.
Supply list for making a seed tape:
1. Toilet paper
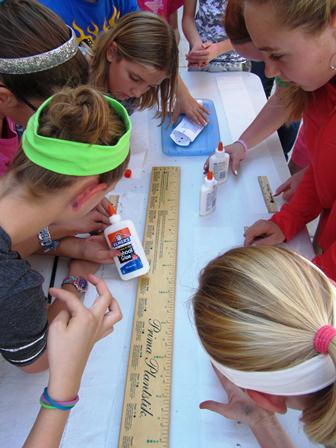
2. Glue – liquid glue like Elmer’s, a glue stick, or you can make your own paste by mixing water and flour together.
3. A ruler
4. Small seeds: radish, carrots, or lettuce
5. Marker
How to make a seed tape:
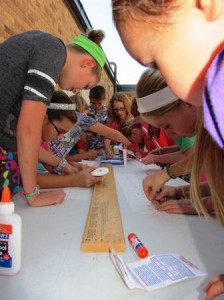
Step 1: Have the students roll out the toilet paper to the proper length.
Step 2: Mark every spot on the toilet paper that needs to have a seed. For example, carrot seeds should be placed every three inches. The student would make a mark every three inches.
Step 3: Put a dot of glue on each mark.
Step 4: Place two seeds on each dot of glue. I suggest using two seeds in case one seed does not germinate. Once the seeds have germinated, you can thin the seedlings down to one seedling per three inches.
Step 5: Optional – We fold our toilet paper in half to protect the seeds as we carried them to the garden.
Step 6: Prepare the garden soil
Step 7: Lay the seed tape in the prepared garden soil.
Step 8: Cover the seed tape with the proper amount of soil. For example, carrot seeds need a half-an-inch of soil over the seeds.
Step 9: Water and watch them grow.
To see someone make a seed tape go to: Making Your Own Seed Tape
I encourage you to show your students the power of a tiny seed! Plant a seed and watch it grow!

Read more about classroom gardens in our Learning Garden blog series:
Learning Garden 16: From the Learning Garden to the Cafeteria
Learning Garden 15: Plant a Seed and Watch It Grow
Learning Garden 14: How Do You Say Thank You
Learning Garden 13: First Harvest
Learning Garden 12: Teach the Teacher
Learning Garden 11: Planting Day
Learning Garden 10: How Does Your School’s Garden Grow?
Learning Garden 9: Rain Barrels
Learning Garden 8: Plant Selection
Learning Garden 7: Raised Beds
Learning Garden 4: Designing the Garden


