The garden is bursting with ripeness! Everything seems to be ready to harvest right now. I find myself scrambling trying to harvest and store it all before it goes to waste. I can’t complain because I am the one who begged for a bigger garden. After the planting, watering, fertilizing, weeding, the real work begins: preserving! One thing is for sure, gardening is not for those who are afraid of hard work. This is a rather long post, but I promise the final product is worth it!

Green beans are worth preserving as they are a great source of dietary fiber, vitamins, and minerals. My mom must have known how healthy they were for our diet. Summer after summer, I remember her standing over the canner, canning green beans and many other garden vegetables. I hope that mine will taste as good as hers!
Honestly, I have been intimidated by canning. Hot water, pressure canner, steam, glass and the unknown has kept me from canning. Oh, and the little fact that I don’t own a canner (hint: birthday gift). My present state of green bean overload has forced me to overcome the intimidation and get started. My mom isn’t with us any longer, so I reached out to my sister for canning advice, she told me not to be such a scaredy cat and just do it! So I borrowed a canner from a friend. I called upon a couple of relatives and friends for advice (and pep talks), read the canning manual, watched a half dozen YouTube video’s on canning …and got started. There are a couple of different ways of canning. I will walk you through how I did it and hopefully inspire you to give it a try.

1. First, I employed the girls and their friends to pick green beans. We sowed the “Jade” variety at two different times this season. The girls picked on the first three rows and got more than enough for me to begin canning.
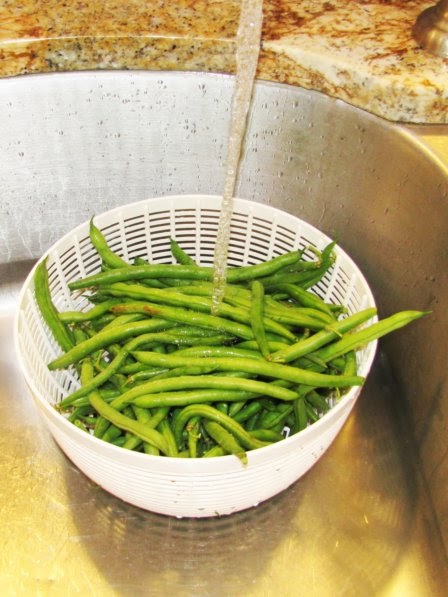
2. I thoroughly washed the beans multiple times with cold water.

3. Then I cut off the ends and cut the beans into one inch pieces. When my girls helped, they just snapped the ends off, rather than using a knife.
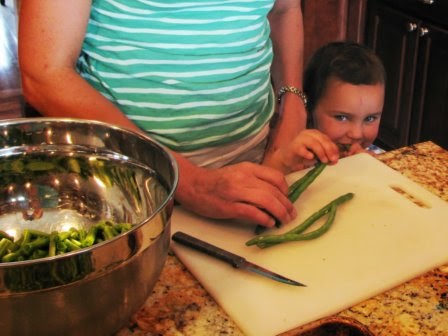
I caught someone nibbling… but who can blame her, they’re delicious!
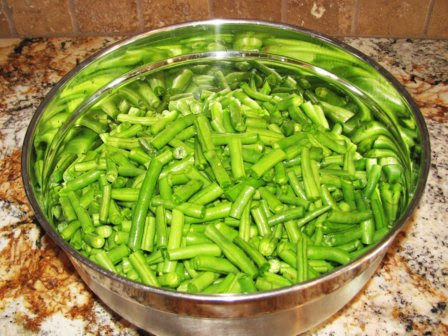
4. Once the beans were ready, I set them aside. I washed the pint jars and lids in hot soapy water and rinsed them thoroughly.
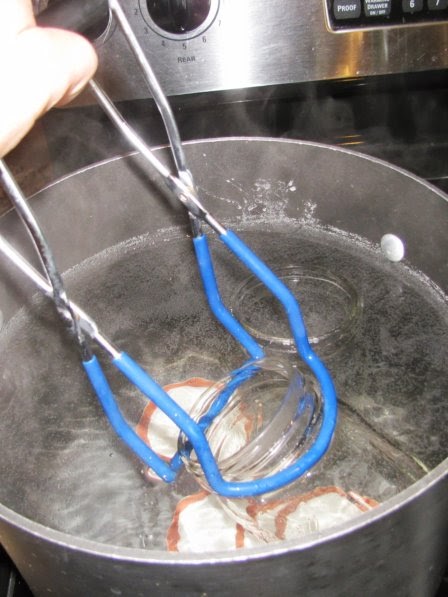
5. To keep the jars warm; I put them in a pot of simmering water and filled each jar with the hot water. Keeping the jars warm reduces the chance of the jars breaking in the canning process. In the same pot I put the canning lids to keep them warm as well.
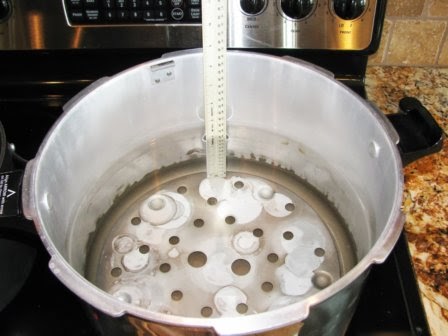
6. I added three inches of water to the pressure canner and turned the burner to medium heat to get the water simmering. Three inches is the recommended amount for the canner I used.
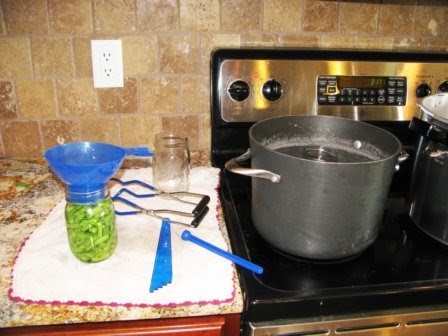
7. I removed one jar at a time and packed it with green beans. I used the blue funnel to get the green beans into the jar. The funnel was my guide to keep the one inch head space that is recommended in each jar. When the beans met the bottom of the funnel, I knew I was at my limit.
8. Then, I ladled boiling water into the jar of beans, again leaving the one inch head space in the jar.
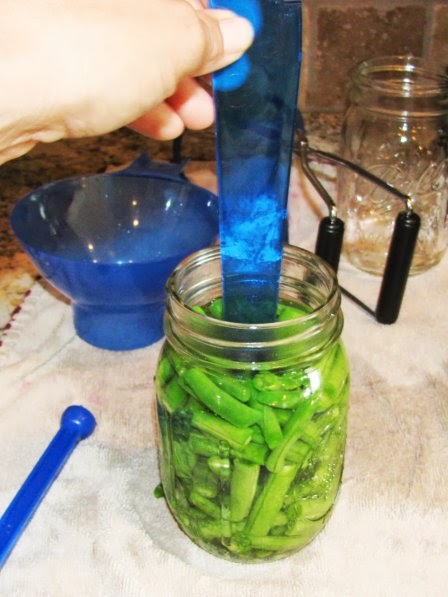
9. To remove air bubbles from the filled jar, I used the blue measuring tool that came in the canning kit. I slid it in and out to force the bubbles out. Next, I wiped any water off of the top rim of the jar.
10. I used the blue magnetic wand to pull one lid out of the water and placed it on the jar and then tightened it when I put the ring on. It is recommended not to over-tighten, as air needs to be able to escape the jar during the canning process.
11. I used the jar tongs to put the jar in the canner. Once it was full, I put the lid on without the weight. The weight is a small piece of the canner but a very important piece!
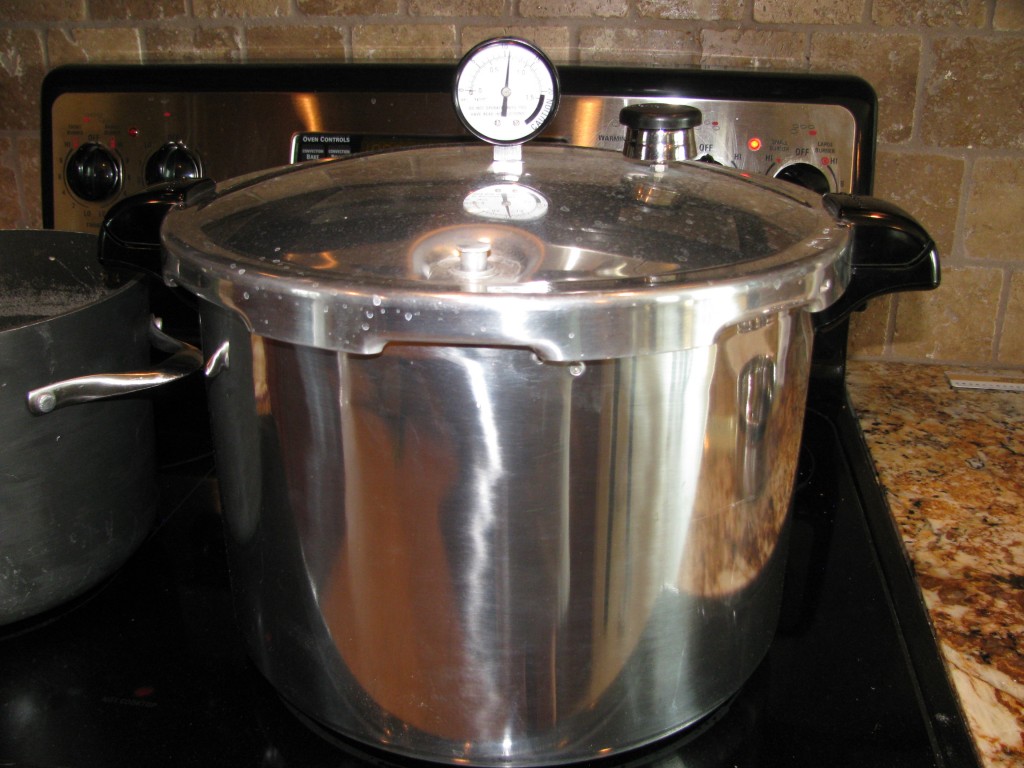
12. I turned the burner on high and left the vent open. Quickly, a lot started to happen. Pressure was building and steam was coming out the tiny vent opening. At that point, I questioned my research and made sure that was supposed to happen! The steam was supposed to be coming out, but I had to adjust the heat to keep a moderate flow of steam. Once the steam started coming out of the canner, I waited the recommended ten minutes and then I put the weight on, which stopped the flow of steam.
13. Next, I waited for the pressure to build to ten. It slowly increased and so did my ego! I was doing it! No longer a scaredy cat, I was canning! When the pressure gauge read ten, I started the timer for twenty-five minutes. During the twenty-five minutes, the gauge is supposed to stay at ten. I had to turn the burner down to the low position to keep it from rising higher. I kept a close eye on the gauge maintaining that ten pounds of pressure.
14. After twenty –five minutes, I turned off the heat completely and I waited for the gauge to go back to zero. It took much longer than I had anticipated. At zero, it’s recommended that you wait three more minutes. After waiting, it was time to open the vent by removing the weight. This allowed any remaining steam to escape.
15. Next I removed the canner’s lid, making sure to open the lid away from my face. I used the jar tongs to remove the jars from the canner and HOT water. I placed each one on a wooden cutting board to rest for twelve hours.
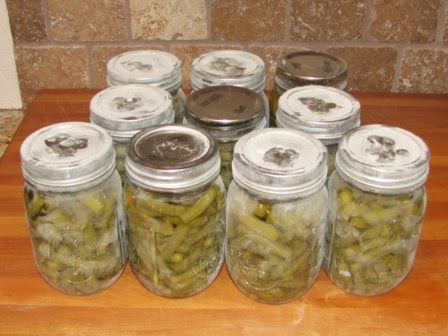
The moment of truth; had I been successful?
16. When the jars had cooled a bit, I used my finger to press down on the lid. The lid didn’t flex, which means that it sealed correctly! Yes, I did it!
The next morning, I removed the bands, wiped the jars clean, labeled the jar and put them on a shelf in the basement storage area. Canning wasn’t hard! If you can follow directions, you can can (get it?)! If you are canning for the first time, I would highly recommend reading the canning manual that comes with the canner and employ help from a friend or relative who has canning experience.
There are more green beans in the garden. Canning green beans round 2, begins now… Stay tuned for my next kitchen adventure with our fresh garden veggies!


Dee, I remember my mother canning everything that came out of our large garden. I thought it was a lost art. Thank you for rekindling interest in these domestic arts. I am so jealous.